The Paubox Builder provides endless customization options to easily design an email to your exact specifications. The builder has pre-built content blocks so you can drag and drop the types of content you want to include in your email.
Follow the steps below to create a new email.
Table of contents:
- Video tutorial: How to use the Paubox Marketing email builder
- Build an email using the Paubox design editor
- Managing images and files with the image manager
- Preview/test your email
- Send an email
Watch a tutorial on how to use the Paubox Marketing email builder
Build an email using the Paubox design editor
Create a new email
- Go to the Marketing Emails page on the Paubox Marketing app
- Click Build Now on the Paubox Builder

Building your email
The new Paubox Marketing design builder provides you with endless customization options so you can easily design an email to your exact specifications. The builder has pre-built content blocks so you can drag and drop the types of content you want to include in your email.
Adding content blocks
Under the Content tab, you’ll find all the different types of content blocks available. Drag and drop a content type into the email editor.
Content types include:
- Title: Headlines and section titles
- Menu: Build a menu of links
- Paragraph: Longer paragraphs of body text
- Text: Body text block
- List: Bulleted and numbered lists
- Image: Upload and insert images
- Button: Add a call to action button
- Divider: Line divider for a visible separation between content blocks
- Spacer: Blank space that can be added between content blocks
- Social: Social buttons to promote your social channels
- HTML: Insert custom HTML code
- Video: Add links to video and automatically generate a preview image
- Icons: Use icon graphics to call attention to content

Click into the content block on the editor to further edit. After clicking on the content block, you’ll find additional settings on the right-hand menu.
Delete, edit and copy content blocks
To customize and edit a content block, click on the content block on the email editor. After clicking, editing options will appear as a pop-up next to the block. Also, further settings will be available in the right menu.
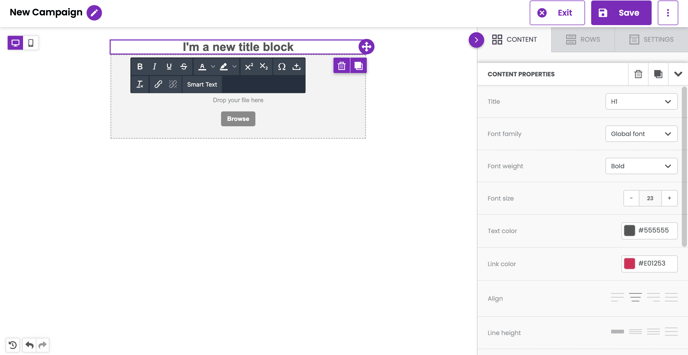
- To delete a content block, click on the trash icon.
- To copy a content block, click on the copy icon.
- To move a content block, click and drag the block to the desired location.
Organizing content in rows
Rows are collections of content blocks. You can use rows to group content blocks and apply similar settings to all content blocks within a row. You can choose to add a row with a single column or a row with multiple columns.
On the Row tab, click and drag the type of row that you want into the email editor.

After that, drag content blocks into the row.
Click on the row block to edit the settings of that row. You can choose to change the width of columns, adjust the padding between content blocks, change the background color of the row, and much more.

Adjust the email settings
The Settings tab allows you to adjust the general settings of the email. Changes made on the Settings tab will applied to your entire email. On this tab you can:
- Change the pixel width of the email
- Set the content area alignment
- Adjust the email background and content background colors
- Set the default font type
- Set the default link color
Upload and insert images with the file manager
The email builder now features a new and improved file manager to easily upload and insert images into your email.
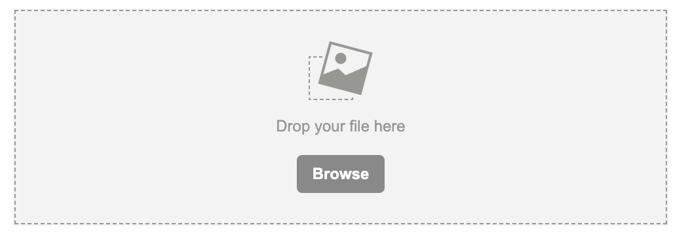
After you’ve dropped an image content block into the editor, press Browse to access the image file manager.
In the file manager, you can:
- Add and manage folders
- Upload images
- Delete images
- Choose images to insert into your email
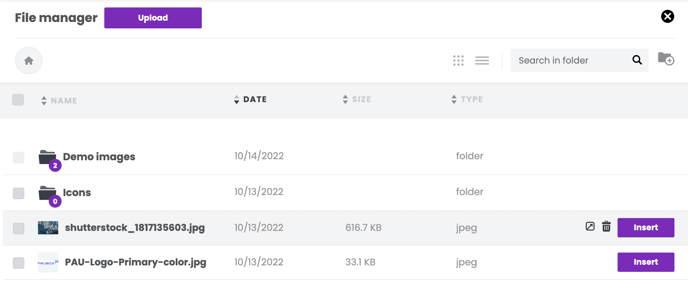
Most of the common image file types can be uploaded to the file manager, including jpeg, png, and gif formats. Note, there is no maximum file size for the images you upload, but it’s best to stay under 1MB for optimal viewing. Additionally, images should be no wider than 1920px in order to maintain the integrity of the image.
Preview and test your email
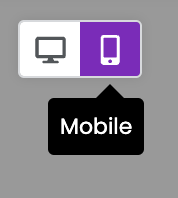
Before you send your email, check that it will look correct to your recipients. In the email editor, you have the option of viewing your email in a desktop or mobile view. To switch between the two, click on either the desktop or mobile icon on the top left corner of the email editor.
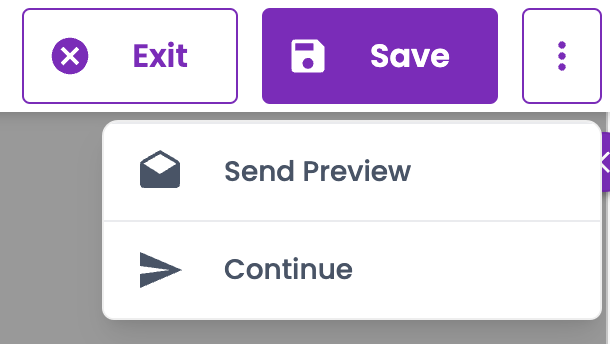
You can also email yourself a preview by clicking on the top right menu options next to the Save button. Click on Send Preview to send a test email to your own email address.
Sending an email
Before you send your email, make sure that your Paubox Marketing account settings are complete and that your sending domain is set up to send HIPAA compliant email through Paubox Marketing. Follow the "Before you send" instructions here.
Once you’re ready to send an email, click on the Save button. Then click on the menu options and choose Continue to move forward with sending the email now or scheduling for later.If you’d like to save the draft and continue later, press Save then Exit. You can find the draft email under the Marketing Emails section of the app.
Don't have a Paubox Marketing account? Start for free here!